Deploy a Network of Time Series
This topic explains how to deploy Projects using the Myst Platform
Create a Deployment
Once you’ve configured your Network of Time Series, you may deploy it to begin generating results.
Web Application
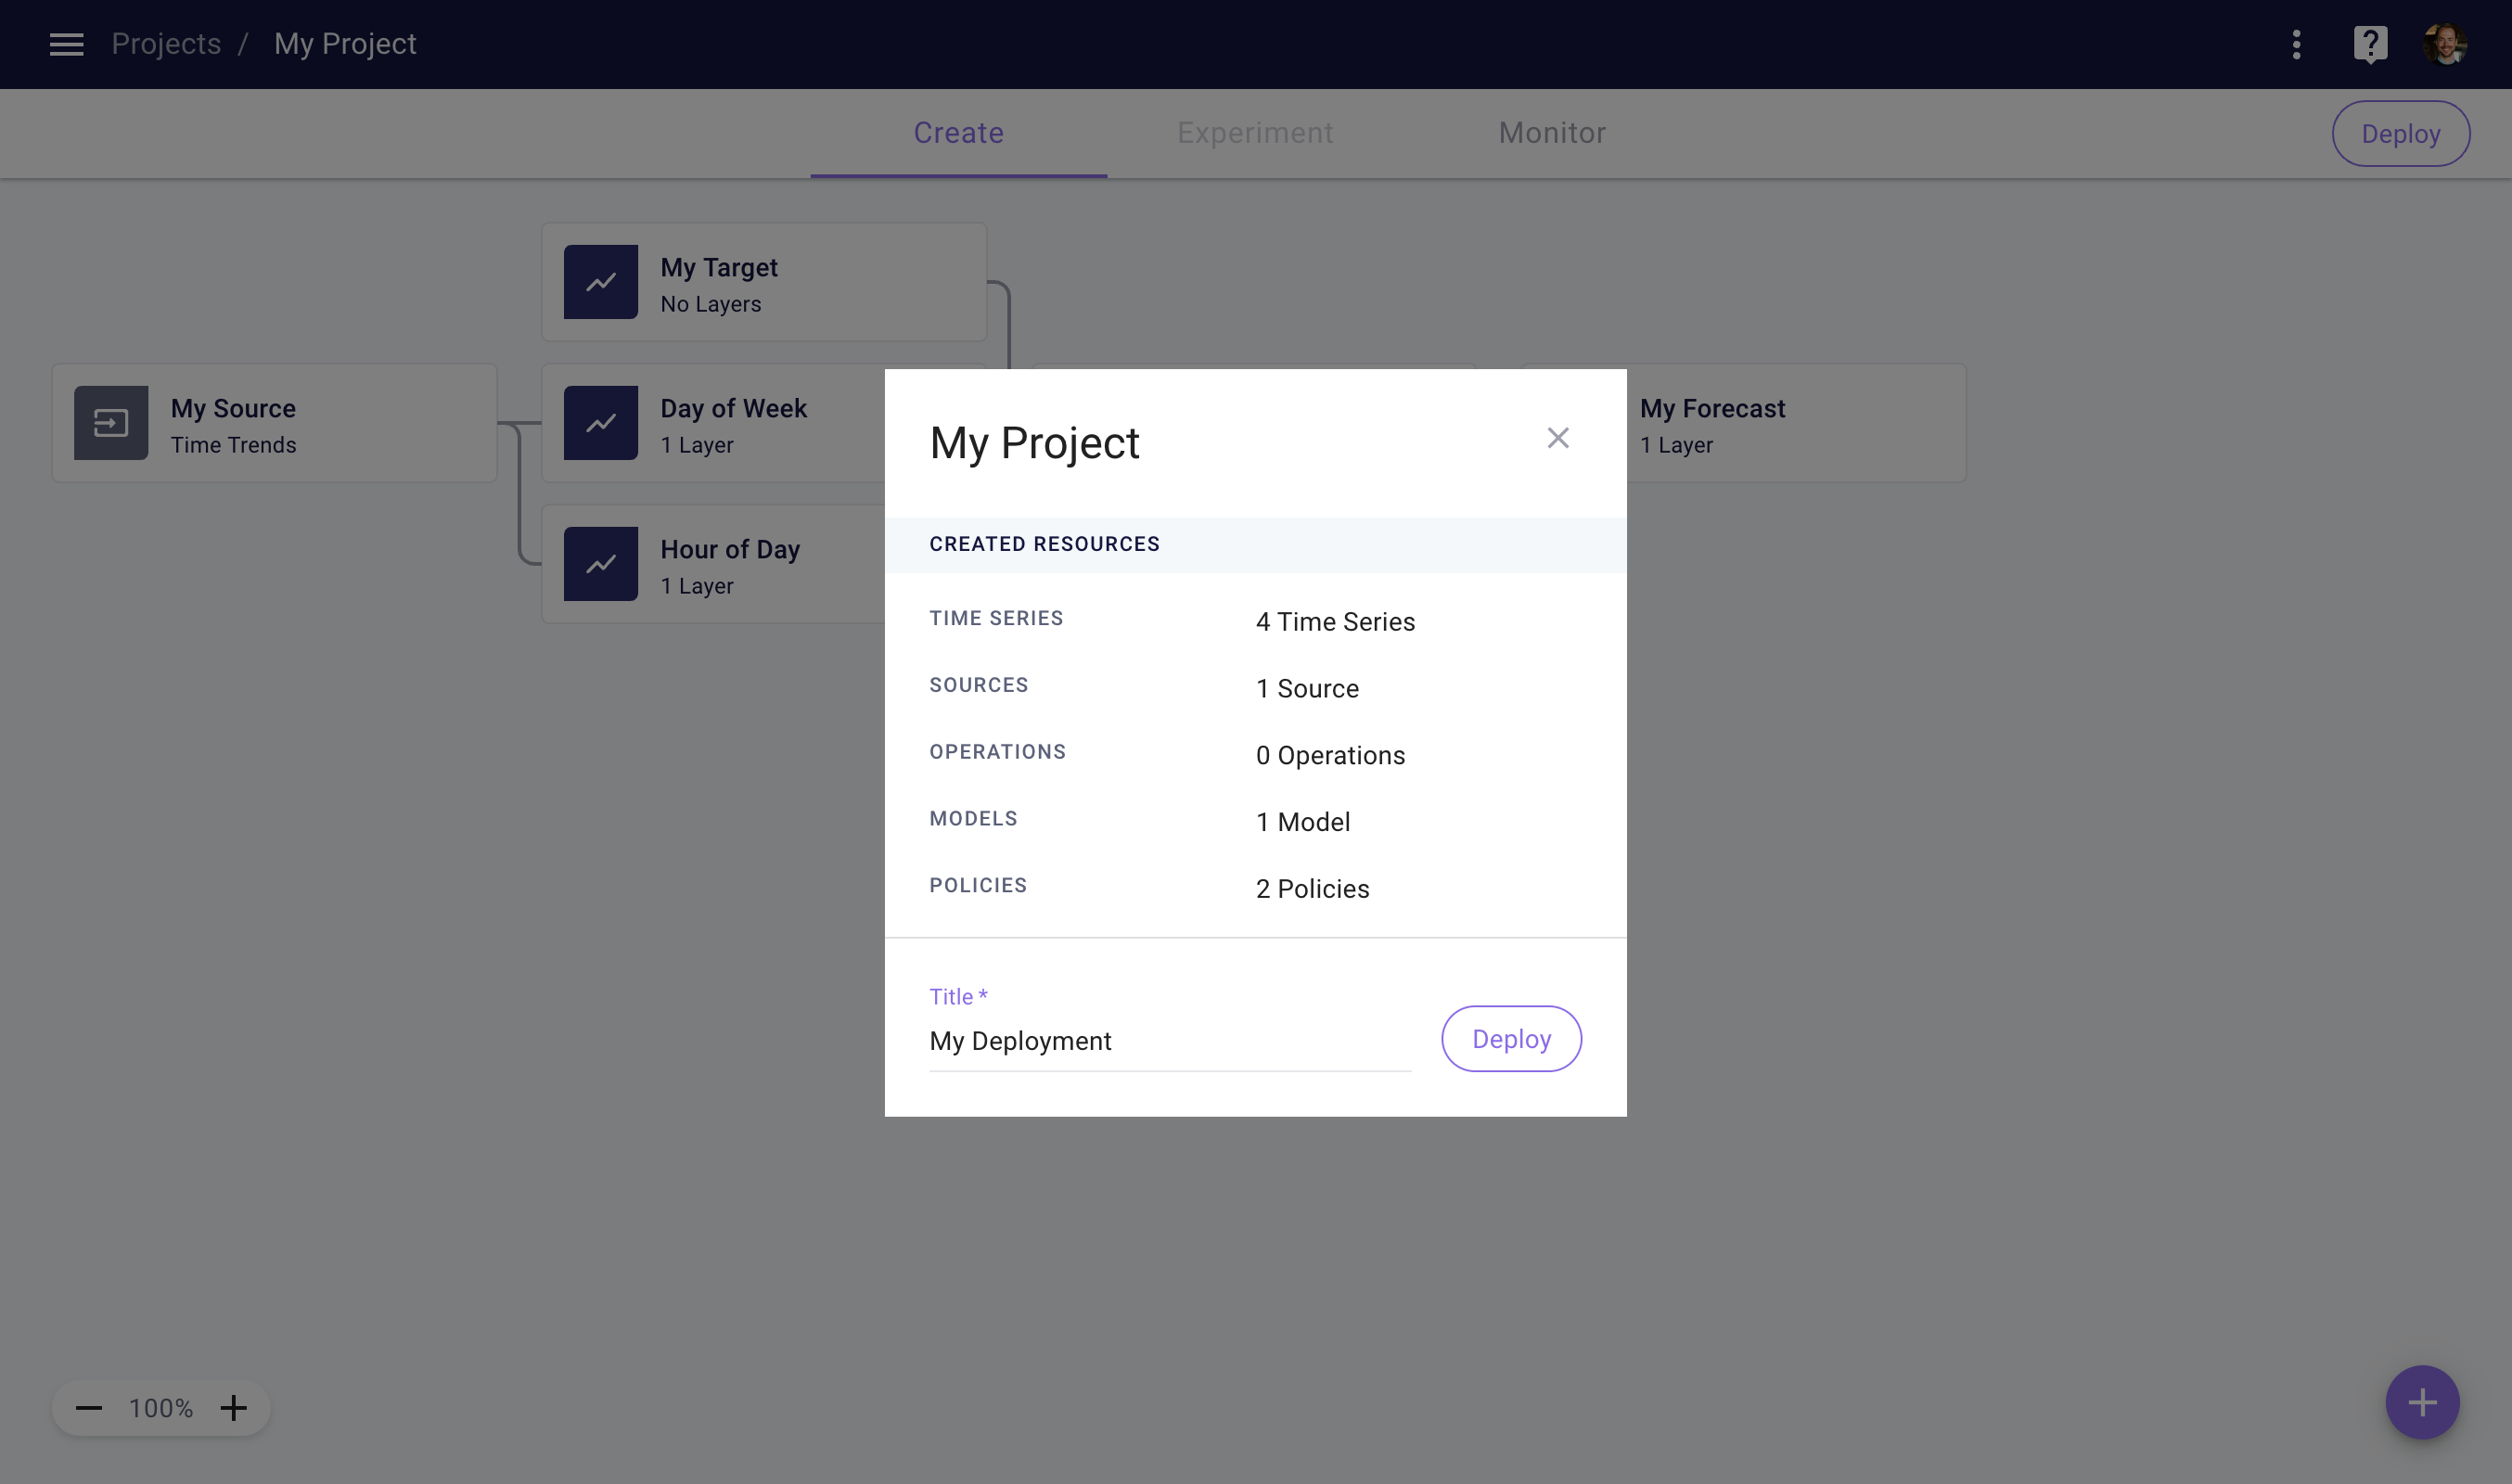
To create a new Deployment, click the Deploy button in the top right corner of the Project Create page.

Deploy a Project to activate your Policies
Time Series on the rightmost side of your NoTS must each be configured with a Time Series Run Policy to determine when and for what time range a Time Series should be run. This can be used to create and store forecasts on a certain schedule (e.g. generate a forecast every hour, for one hour in the future through seven days in the future). All Models must be configured with a Model Fit Policy to determine how often they should be retrained and on which time ranges of input data. These Policies will become activated once your Project is deployed.
Client library
To deploy a Project in the client library, you can use the following code.
import myst

myst.authenticate()

# Retrieve the project you want to use.
project = myst.Project.get(uuid="<uuid>")

# Create a deployment.
deployment = project.deploy(title="My Deployment")
Immutability
Note that you cannot modify the configuration of Nodes that have been deployed. You can, however, add new downstream Nodes (Nodes with data propagating from deployed Nodes) to reuse Time Series you've already created, and add or update Policies on previously deployed Time Series and Models.
Once you’ve deployed a Project, your Policies will begin to run according to their schedules. This means that the Models in your project with a Model Fit Policy will be fit and Time Series with a Time Series Run Policy will be run.

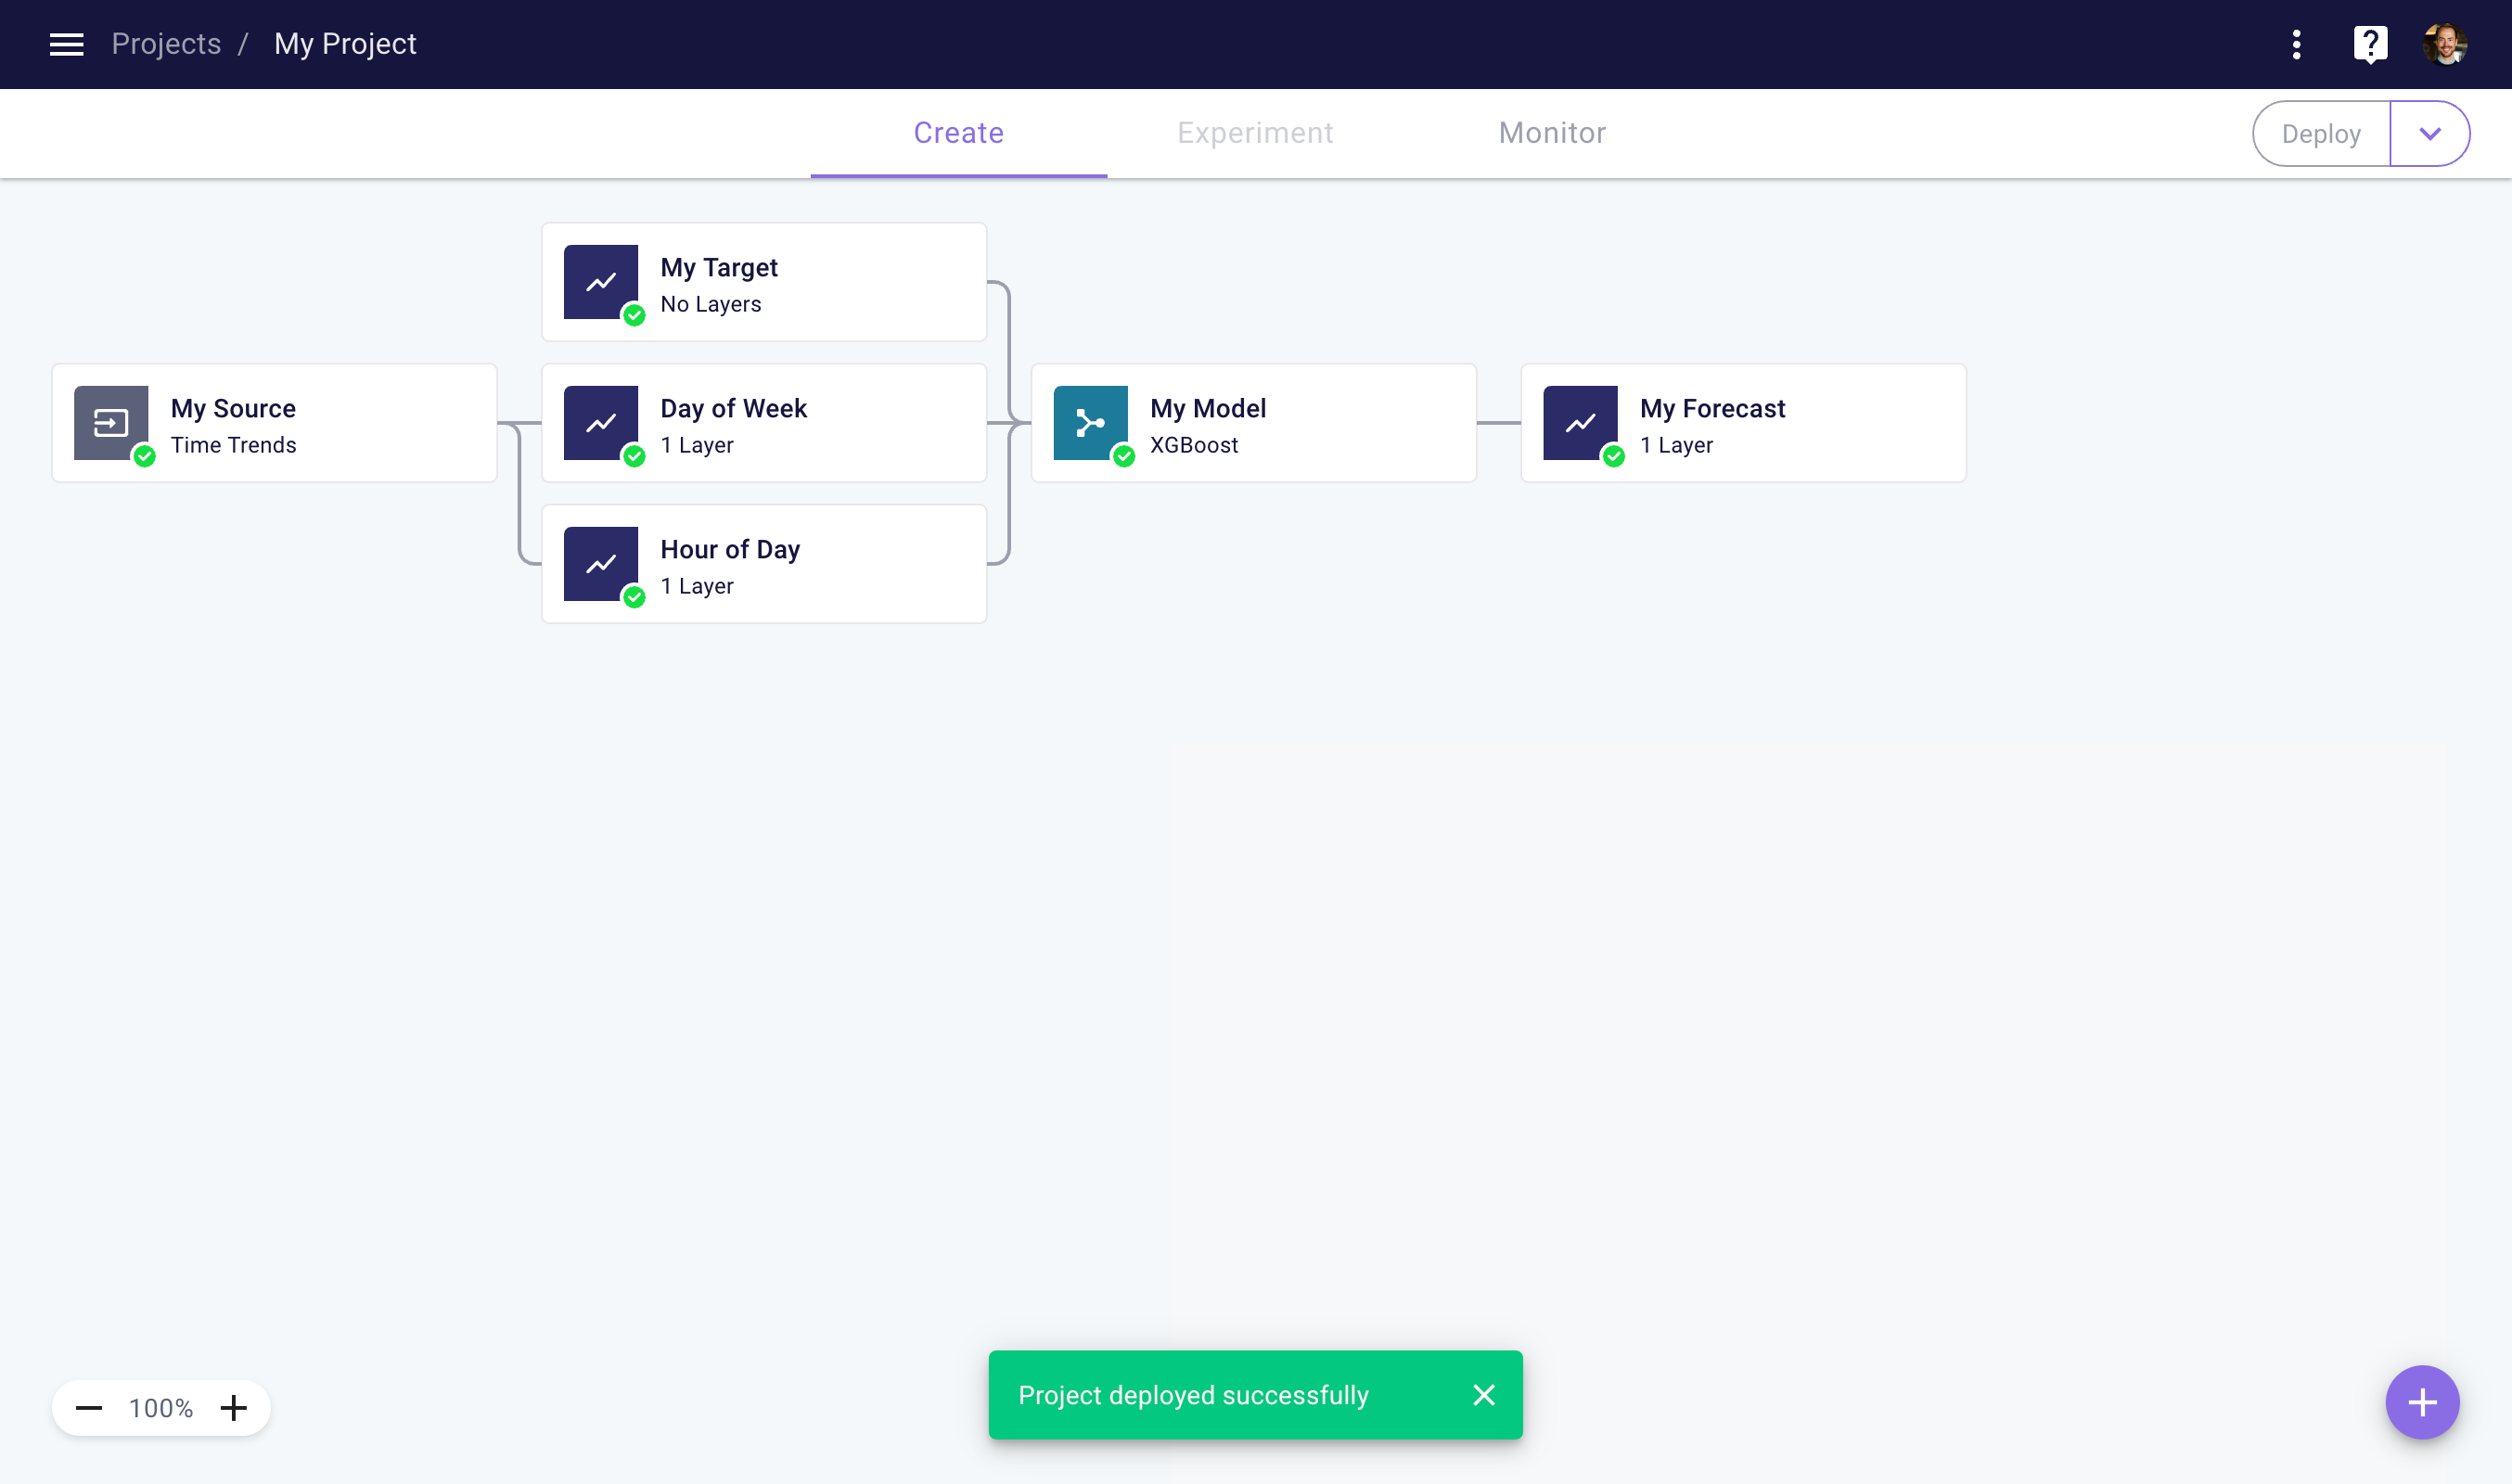
Your project has been deployed successfully
Deactivate your Deployment by clicking the dropdown next to the Deploy button. This pauses all policies in your project, so no new results will be generated. Deactivated Deployments may be redeployed at a later time.
Once you’ve deployed a Project, you may add new Nodes and Policies to your project. To deploy your new Nodes and Policies, you may redeploy your Project by clicking the deploy button in the top right corner of the Project Create page again. This will deploy all Nodes and Policies in your project.
Active Deployments
Note that only one Deployment — the most recent — will be active at any time for a given Project. This means that when you create a new Deployment, an existing Deployment will automatically be deactivated.
Monitor Your Results
Once you've deployed your Project, it will now start to generate results based on your specified Policies.
Web Application
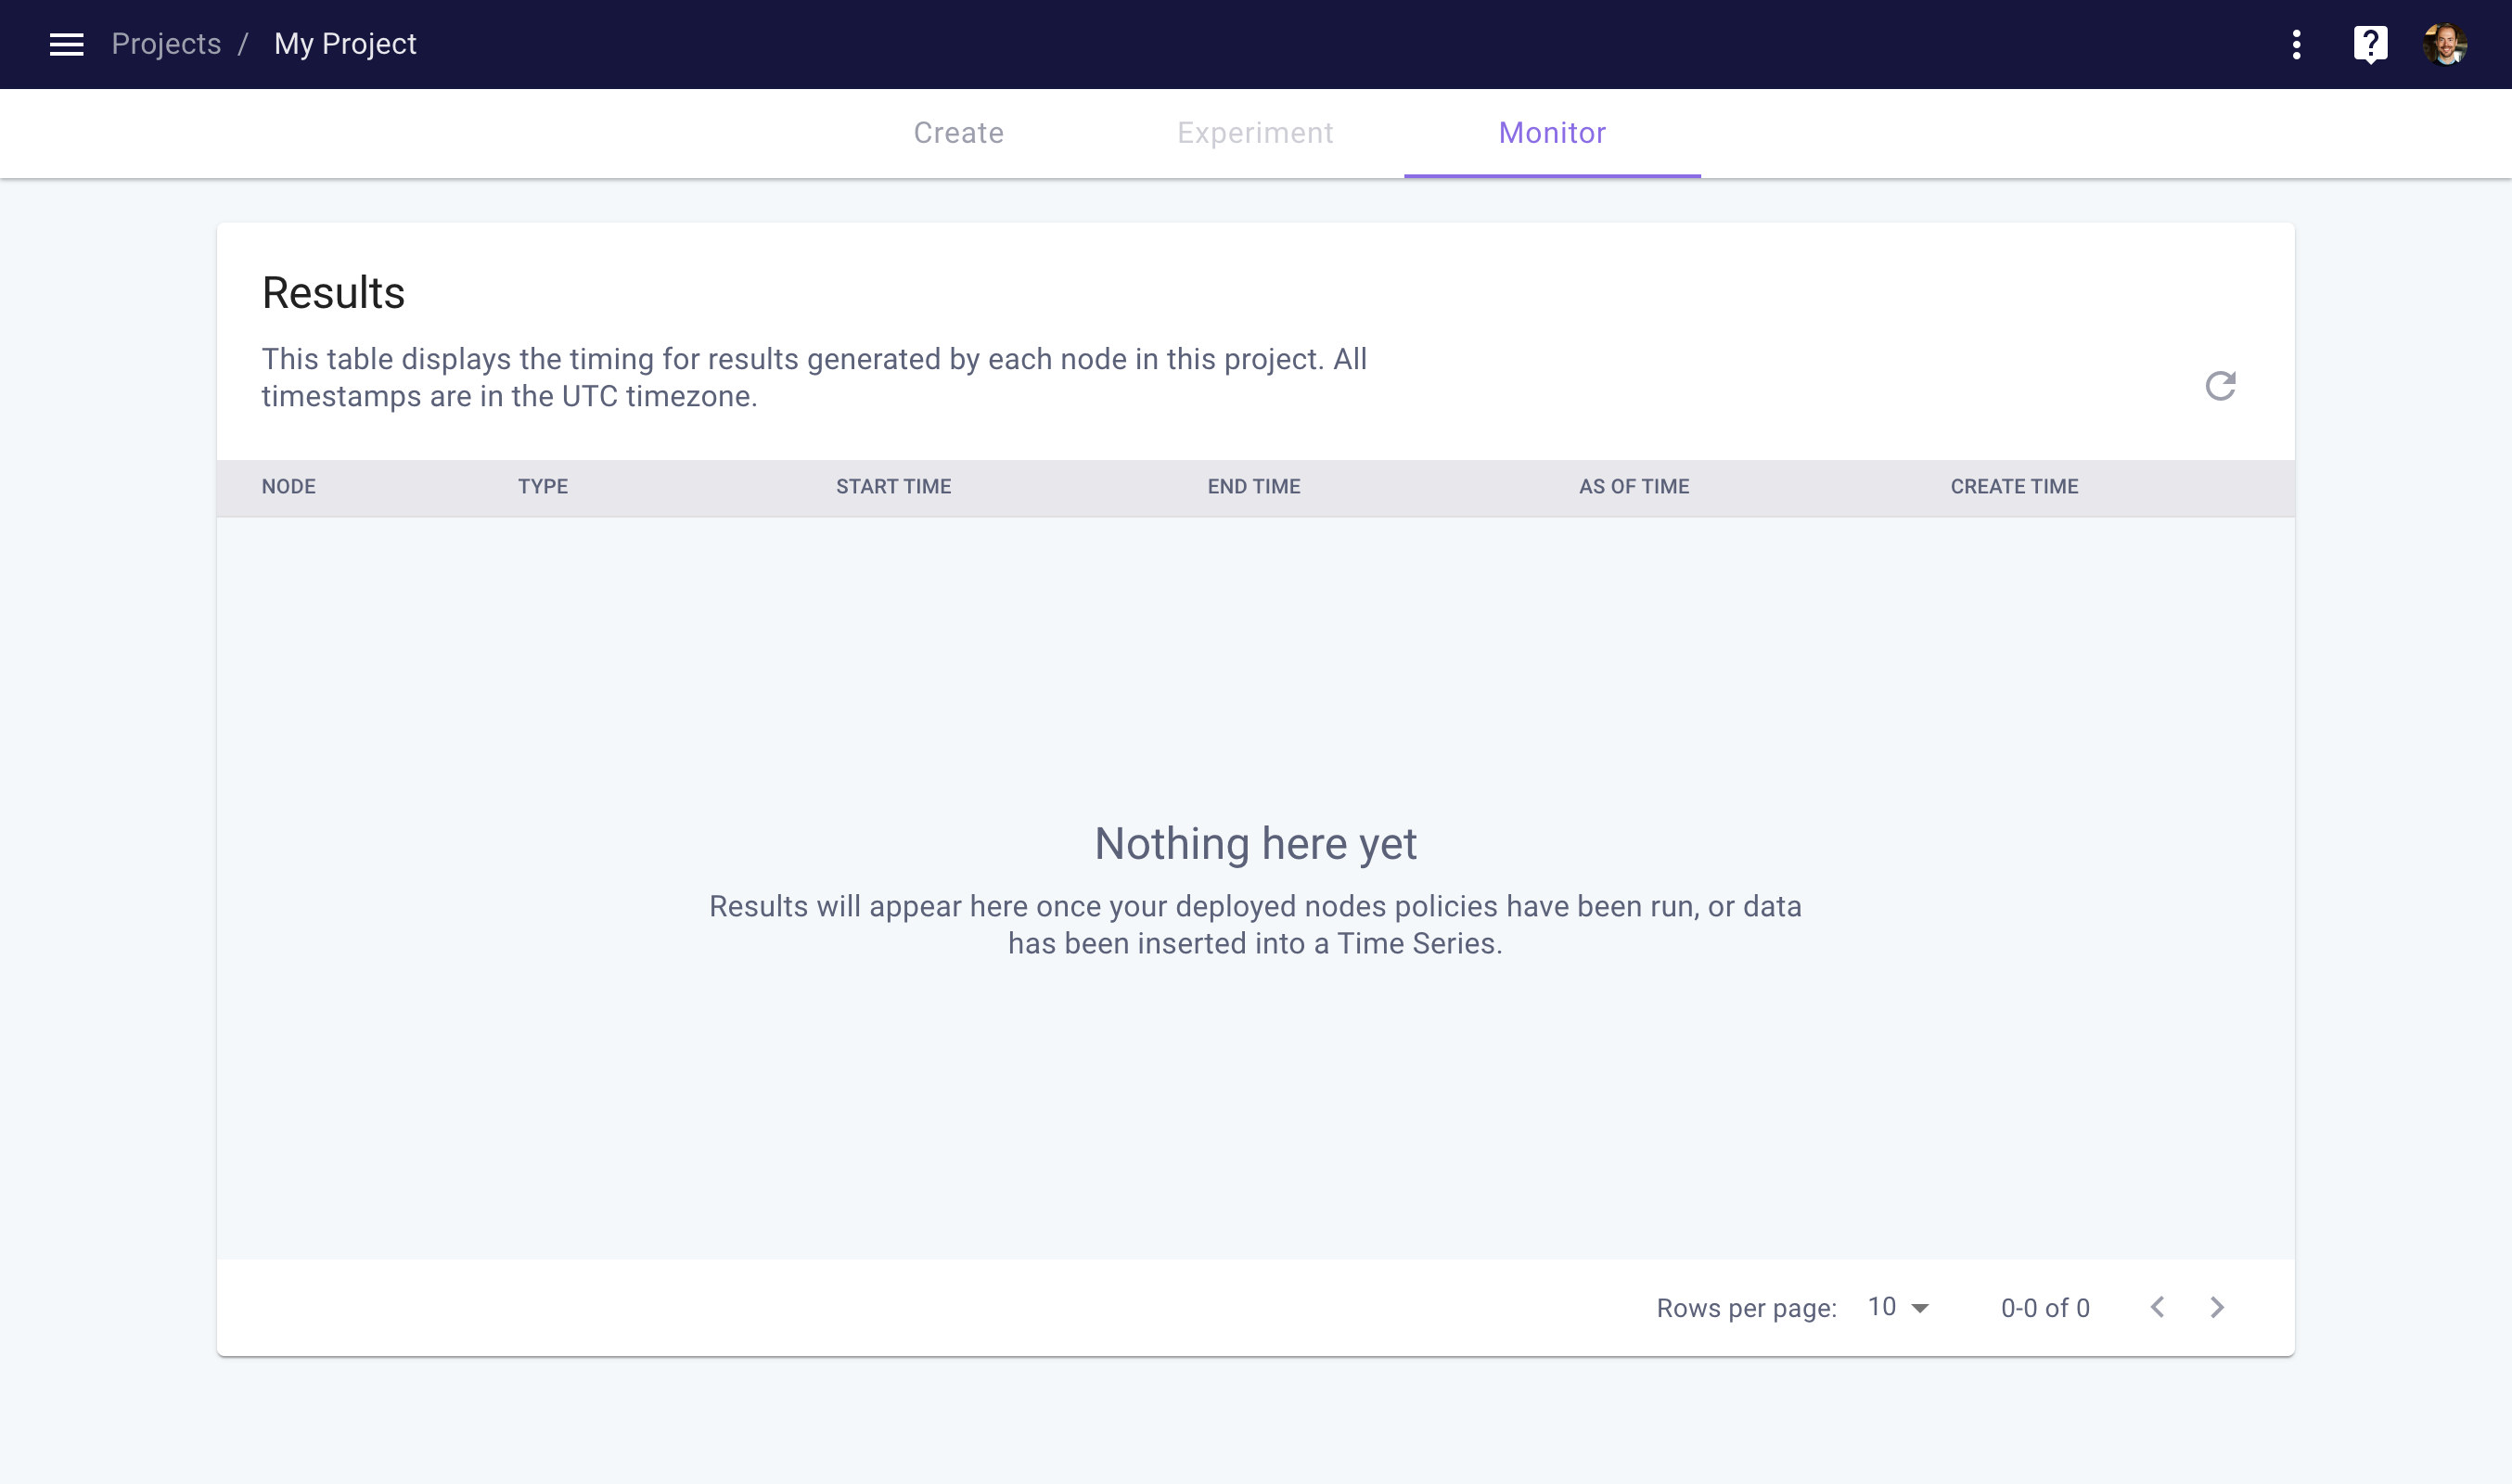
To track and verify the results of your Deployment, navigate to the Project Monitor space by clicking on the Monitor tab at the top of the Project page. The results table surfaces an auditable list of ongoing results that are being generated by the Policies in your project. You can refresh the table by clicking on the refresh icon.

Monitor the results of your project
Create Ad Hoc Results
In addition to generating results that are driven by policies, you can also create results directly.
Web Application
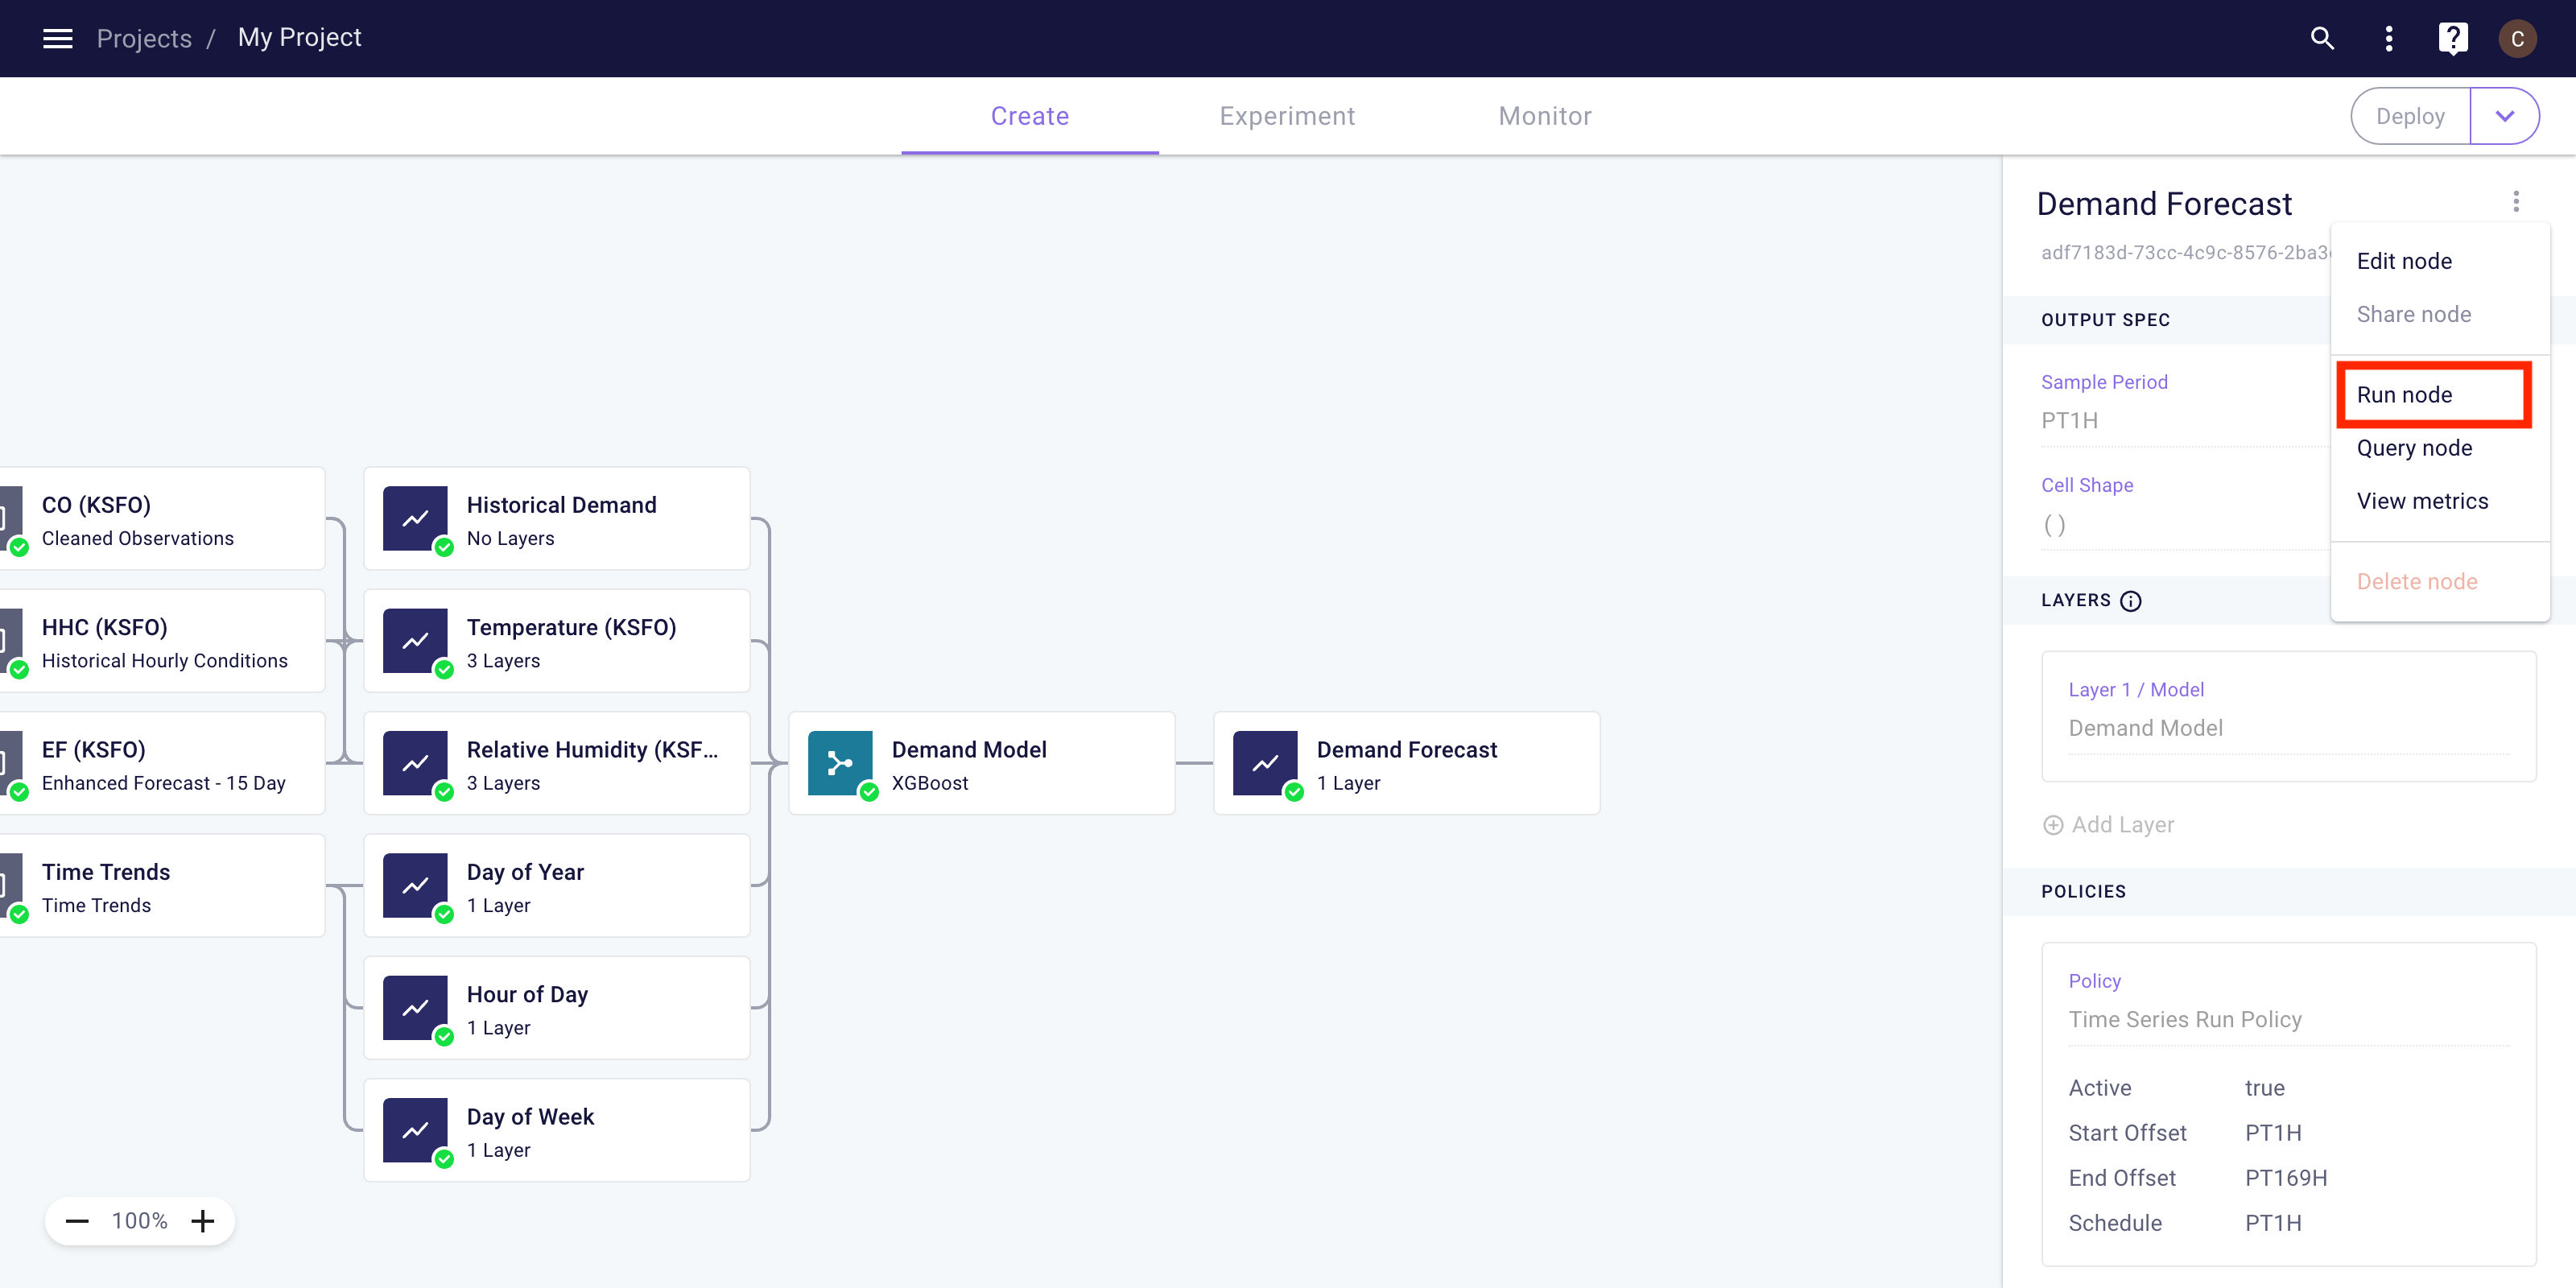
In the web application, you can fit a model or run a time series from the dropdown in the node sidebar. You will select the "fit model" to fit model notes and "run node" to run time series nodes. You will then be prompted with a popup where you will enter the start and end dates for the fit or run.

Client Library
The code below shows an example of fitting a model and running a time series on an ad hoc basis.
import myst

myst.authenticate()

# Use an existing project.
project = myst.Project.get(uuid="<uuid>")

# Create an ad hoc model fit job.
model = myst.Model.get(project=project, uuid="<uuid>")
model_fit_job = model.fit(
    start_timing=myst.Time("2022-01-01T00:00:00Z"),
    end_timing=myst.Time("2022-08-01T00:00:00Z"),
)

# Extract the model fit result.
model_fit_job = model_fit_job.wait_until_completed()
result = model.get_fit_result(uuid=model_fit_job.result)

# Create an ad hoc time series run job.
time_series = myst.TimeSeries.get(project=project, uuid="<uuid>")
time_series_run_job = time_series.run(
    start_timing=myst.Time("2022-08-01T00:00:00Z"),
    end_timing=myst.Time("2022-08-08T00:00:00Z"),
)

# Extract the time series run result.
time_series_run_job = time_series_run_job.wait_until_completed()
result = time_series.get_run_result(uuid=time_series_run_job.result)
Updated over 3 years ago